Sky SR203 Teardown
The Sky SR203 / Sky Hub 4.2 is a VDSL/ADSL Router with a 4 port hub, 2.4GHz Wi-Fi and 5GHz Wi-Fi (802.11a/b/g/n/ac), it also has VOIP support. The SR203 is almost identical to the Sagemcon FAST 5364. Compared to older Sky routers they have cheaped out on the antennas by using some printed on to the main PCB, though it is still better than most. The designers have gone all out on shielding which is always good, but makes it hard to access components and sucks away heat when trying to desolder components.
There is no UART dump but if you want to skip straight to the firmware it can be found here https://drive.google.com/file/d/17O2J_ny_qmvjG1cf9KHJai9Og2XqzW0o/view?usp=sharing
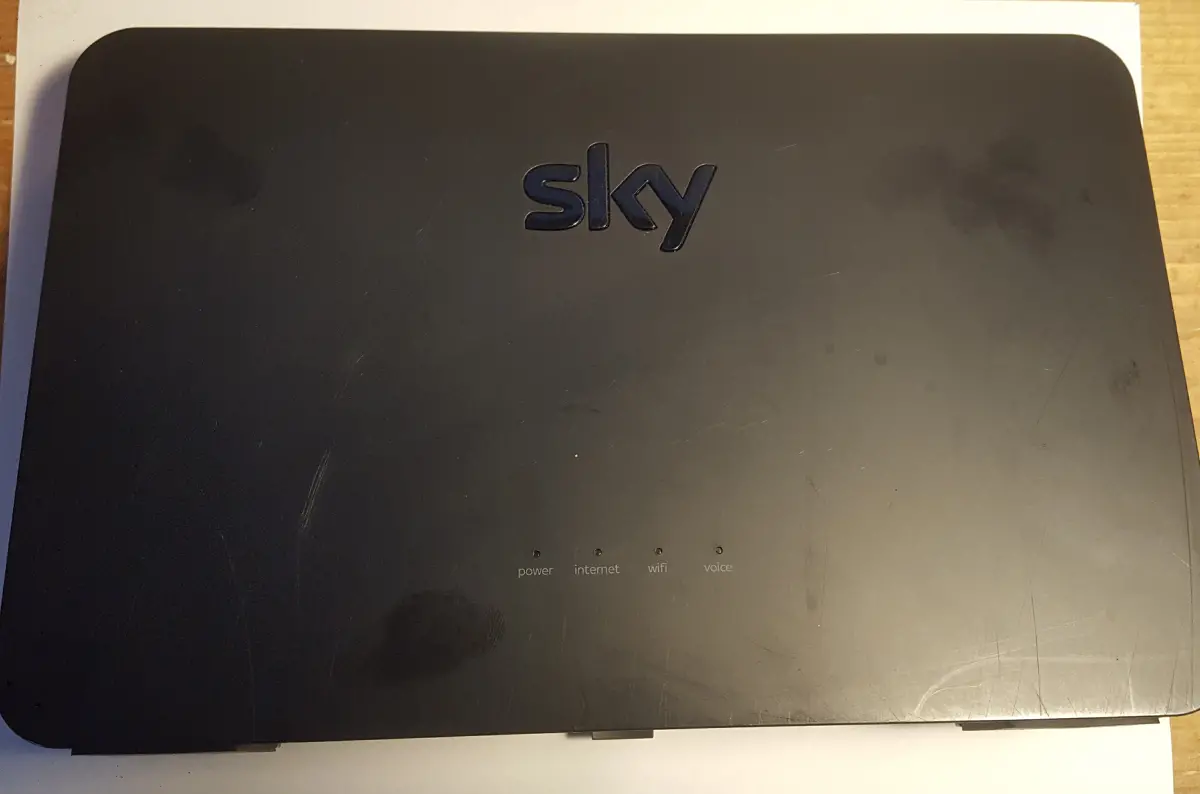
Front
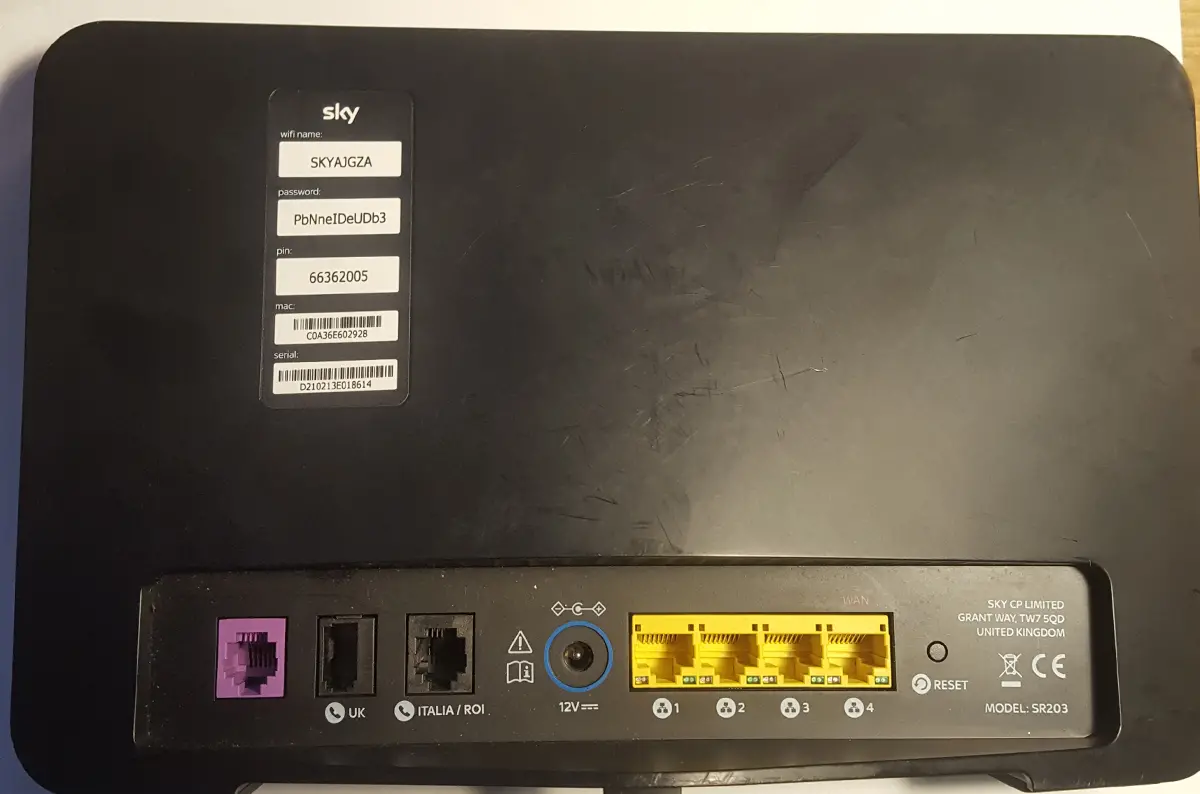
Rear
To open the router flip it upside down and unscrew the two plastic screws then prise apart around the edges.
Front PCB

| No. | Part Number | Description |
| 1 | Le9641PQC ZZ e3 2052CYE | Single Channel miSLIC |
| 2 | UART | UART (inactive) |
| 3 | 61089B 31G 038P | DUAL FORWARD-CONDUCTING P-GATE THYRISTORS. PROGRAMMABLE OVERVOLTAGE PROTECTORS |
| 4 | BCM8303 KMLG P31 CN2050 168 3B W | ADSL Transceiver ??? |
| 5 | SKY11 85310 104FS | Power Amplifier IC |
| 6 | BCM4366EKMM1 W1G TE2104 P30 01D-22 3W | 4x4 2.4/5G single chip 802.11ac SoC |
| 7 | BCM63136VKFSBG TA2106 P20 095-27 Z3A | ARM v7 (Cortex A9) SoC MIPS |
| 8 | SEC 101 BCNB K4B4G0846E E7X2582IC | 4Gb E-die DDR3L SDRAM |
| 9 | BCM4366EKMM1 W1E TE2104 P30 01D-22 3W | 4x4 2.4/5G single chip 802.11ac SoC |
| 10 | 4552 8YLE | 5GHz RF Front End Module |
| 11 | SWAR NET W2101 NS604804 | 10/100/1000Base-T Dual Port Transformer Module |
Rear PCB
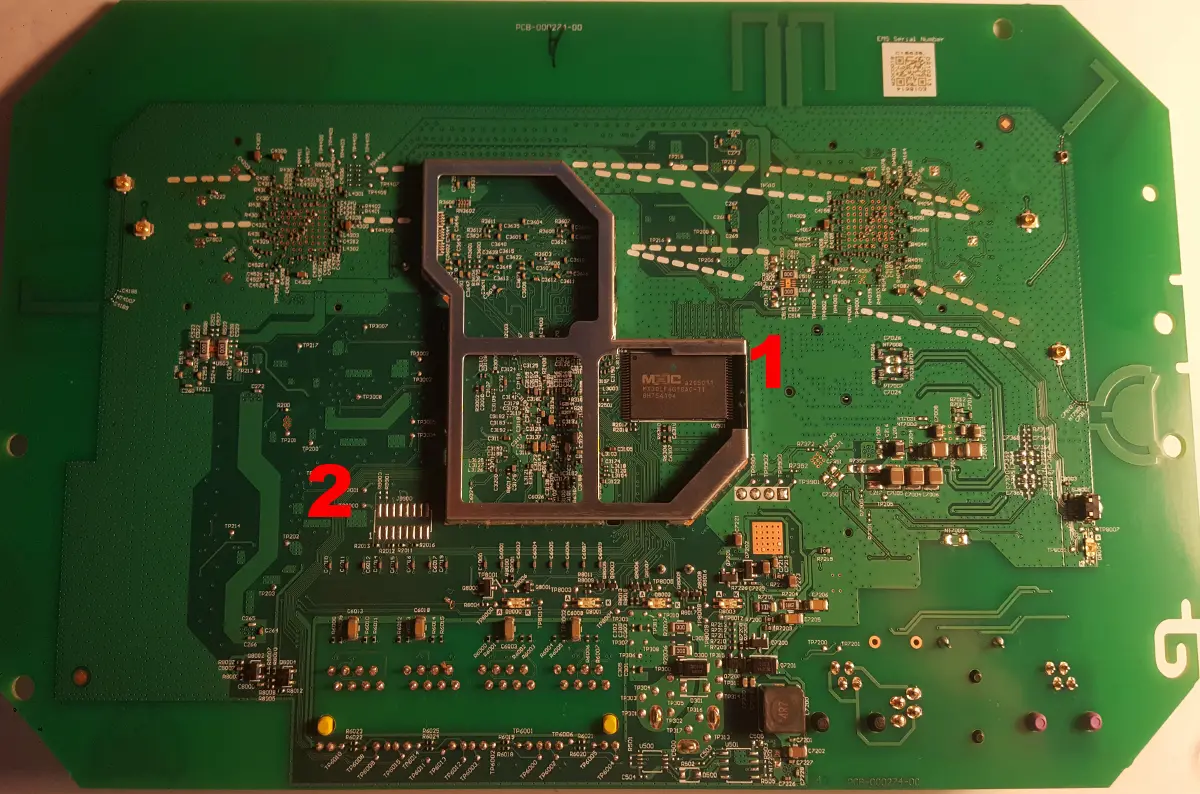
| No. | Part Number | Description |
| 1 | MXIC MX30LF4G18AC-TI a205011 8H754104 | 4G-bit SLC NAND Flash |
| 2 | JTAG | JTAG |
The JTAG pins are fully populated but I have not tried to access it as it is usually as waste of time. UART has no output.
Due to the Flash chip location the easiest way to DUMP its contents is to remove the chip and place it in a socket, any TSOP48 socket will do. As there is no UART output deciphering the data is a little tricky due to false positives from Binwalk. Binwalk does recognise the JFFS2 filesystem and UBI so those are a good starting point. To extract the firmware you will need an old version of Kali Linux (2018~) as you will need to use UBI Reader, you will also need Jefferson.
1. Create a directory to store the raw NAND dump etc.
mkdir /home/kali/Desktop/dump/
2. Go to the directory
cd /home/kali/Desktop/dump/
3. Create a virtual NAND device. You must read the datasheet to get the id bytes. The MX30LF4G18AC id's can be found on page 33 of the datasheet. Byte0 is first_id_byte, Byte1 is second_id_byte and so on. bch is ECC level requirement and can be found on page 34 of the datasheet.
sudo modprobe nandsim bch=4 first_id_byte=0xC2 second_id_byte=0xDC third_id_byte=0x90 fourth_id_byte=0x95
4. Load the MTD.
sudo modprobe mtd
5. Write the raw NAND image to the virtual NAND device using -o to tell it that oob data is present and -N not to skip bad blocks.
sudo nandwrite -o -N /dev/mtd0 raw.BIN
6. Extract the different partitions. The UBI partition was found using UBI Reader, you can skip the UBI partitions as you can use UBI Reader to do the job --omitoob removes OOB data.
sudo nanddump --omitoob --bb=dumpbad -s 0 -f noOOB.bin /dev/mtd0
sudo nanddump --omitoob --bb=dumpbad -s 5767168 -l 401475584 -f ubitoubi.bin /dev/mtd0
sudo nanddump --omitoob --bb=dumpbad -s 5767168 -l 401604608 -f fullubi.bin /dev/mtd0
7. Restart computer or VM as its easier and more reliable than erasing the virtual device.
8. Create a place to mount the JFFS2 filesystem.
sudo mkdir /mnt/jffs2
cd /home/kali/Desktop/dump/
9. Create a virtual NAND device as before.
sudo modprobe nandsim bch=4 first_id_byte=0xC2 second_id_byte=0xDC third_id_byte=0x90 fourth_id_byte=0x95
sudo modprobe mtdblock
sudo modprobe jffs2
sudo modprobe mtdram
10. Write the noOOB.bin image to the virtual NAND.
sudo nandwrite -N /dev/mtd0 noOOB.bin
11. Mount mtdblock0 as JFFS2.
sudo mount -t jffs2 /dev/mtdblock0 /mnt/jffs2
12. Go to /mnt/jffs2 to view the files. There may be other paritions on the NAND dump, I have not checked as I lost the will to live at this point.
13. Use UBI Reader to extract the UBI image.
sudo ubireader_extract_images -v noOOB.bin
14. The image that is outputed is SQFS and can be extracted using 7ZIP.